


Give your Chevrolet Aveo a new life
Say goodbye to the factory radio and take the leap into the future. This HD touchscreen integrates seamlessly into the dashboard of your 2011-2015 Chevrolet Aveo , giving you instant access to modern technology without sacrificing style.
What you gain with this update:
- 📱 Total Connectivity (Wireless) : Enjoy Apple CarPlay and Android Auto without the need to connect cables.
- 🗺️ Precise GPS Navigation : Integrated GPS for use with Google Maps, Waze or your favorite map apps.
- 🎵 Superior Sound (RDS+DSP) : The digital sound processor (DSP) and RDS tuner improve the factory audio quality.
- 📞 Bluetooth Hands-Free : Crystal clear calls and uninterrupted streaming of your music (Spotify, etc.).
- 🔌 Perfect Integration : Maintains full compatibility with steering wheel controls.
- 🔧 Complete "Plug & Play" Kit : Includes everything needed for installation: specific cabling for your model, antennas (GPS, WiFi) and accessories.
We know that choosing your car's electronics is an important decision. All our models are 100% compatible and high quality, but they are designed for different types of users.
CHOOSE YOUR MODEL
| Processor | Quad-Core (MediaTek MT8163) |
| RAM + ROM | 2GB + 64GB |
| Interface Speed | Fluid |
| Wireless CarPlay / Android Auto | |
| Head Unit | 9 Inch IPS 1024x600 |
| GPS / Bluetooth / Wi-Fi | |
| Premium Sound (RDS+DSP) | |
| 4G Connection | |
| Multitasking | Basic |
| Ideal Use | CarPlay and lightweight apps |
CANBUS Configuration (for vehicles with CANBUS)
Make sure the CANBUS module is properly connected:

Quad:
Enter the Car Settings app, go to the Factory or Fábrica section, CarType Configuration, password 000000, select the CAN bus brand and car model

Octa:
Enter the System Settings app, go to the Version section, then Factory Settings, password 8888, Car Model, select the CAN bus brand and car model, and click "Save"

Quad:
Enter the Car settings app, Factory section, Physical key learning, and configure the controls to your liking

Octa:
Enter the System Settings app, go to General, then Key Learning and SWC Key Learning, select the function you want to assign and then press and hold the steering wheel button for 3 seconds

For models with CANBUS
- Connect the camera's yellow RCA to the screen's yellow RCA
- Connect the cable marked with 3️⃣ to 4️⃣
- Connect the cable marked with 1️⃣ to 5️⃣

For models without CANBUS
- Connect the yellow RCA from the camera to the screen's yellow RCA
- Connect the cable marked with 3️⃣ to 4️⃣
- Connect the cable marked with 1️⃣ to 5️⃣ and this connection to the reverse positive
- Connect the cable marked with 2️⃣ to the reverse negative

THE 4️⃣ CABLE IS FOUND IN THE MAIN WIRING OF THE RADIO, IN SOME MODELS IT IS OFTEN LABELED AS "REVERSE" OR "BRAKE". IF IT IS NOT LABELED, IT IS NUMBER 3 IN THE FOLLOWING PHOTO:

My touch keys have been misconfigured, how do I set them up?
Radio Learning Process:
Go to the Car Settings app on your screen, enter Factory.
You will likely be asked for a password, it is 000000.
Find the Touch Key Learning section and configure the keys.
Step 1: Press a button on the radio screen (e.g., "Volume Up"). The button will light up or change state, indicating it is "listening".
Step 2: Immediately after, press and hold the corresponding touch button on the side of your car's screen (the actual volume up button).
Step 3: The radio will detect the signal and the screen icon will be "programmed" (usually changes color).
Step 4: Repeat this process for all the buttons you want to program (Volume Down, Mute, Next, Previous, Answer Call...).

CHANGE TOUCH KEYS COLOR
Enter the app "Car Settings", then "Display" and finally "Lighting Color"

My touch keys have been misconfigured, how do I set them up?
Learning Process on the Radio:
Go to the System Settings app on your screen, enter General.
Look for the Key Learning section and then Touch Key Learning and configure the keys
Step 1: Press the screen where indicated for 10 seconds to perform the initial calibration.
Step 2: Press a button on the radio screen (e.g., "Volume Up"). The button will light up or change state, indicating it is "listening".
Step 3: Immediately after, press and hold the corresponding touch button on the side of your car's screen (the actual volume up button).
Step 4: The radio will detect the signal and the screen icon will be "programmed" (usually changes color).
Step 5: Repeat this process for all the buttons you want to program (Volume Down, Mute, Next, Previous, Answer Call...).

CHANGE TOUCH KEYS COLOR
Enter the app System Settings, then General, and finally "Button Backlight Color"

Why does the screen not respond when I touch it or open the wrong page when I touch it?
This could be due to a screen malfunction; it needs to be calibrated.
Press the screen with five fingers simultaneously. The calibration icon will appear. Click on it to complete the process. Note that pressing the screen with five fingers may take more than 20 seconds.
OCTA VERSION:
Go to the System Settings app, then to Version, and finally to "Touch Calibration"

Make sure to connect the AMP cable to the main red ACC power cable.

Make sure the CANBUS is properly connected.
The power cable you received should have a yellow RCA plug on the top (the cable that supports the rear camera). If it has a yellow RCA plug, connect it according to the wiring diagram below.

This option is only available for models with CANBUS
QUAD VERSION:
First configure the CANBUS and then enter the app "Can Vehículo" to view the available original settings

OCTA VERSION:
First configure the CANBUS and then enter the Car Information app to view the available original settings


Android Auto Carplay Head Unit Chevrolet Aveo 2011-2015

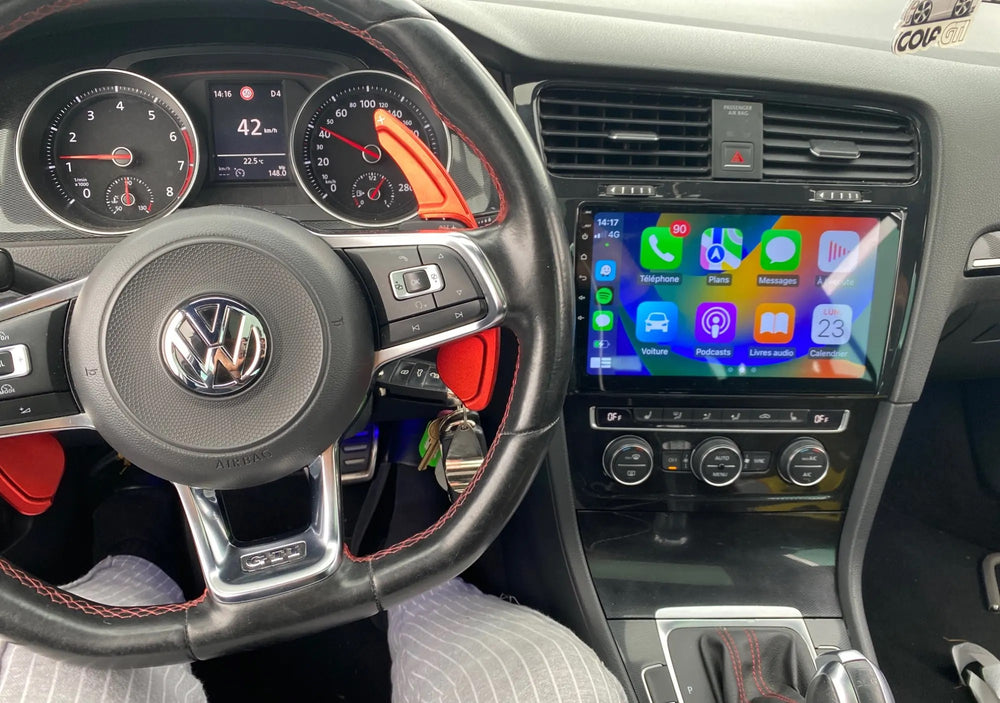
Keep full control of the steering wheel and all its functions
Connect any rear camera to park with complete safety
High-quality HD IPS touch Head Unit with custom-specific frame
Powerful 8-core processor for maximum smoothness
Enjoy full wireless connectivity with Apple CarPlay and Android Auto
View the climate control system on the screen if your car has CANBUS
Browse with complete freedom, 4G connectivity, and WiFi
